#Deploying to AWS Cloud Platform
This article walks through deploying a WordPress site on AWS. We will start by creating an SSH key pair and launching an EC2 instance, followed by installing and configuring our WordPress website.
Next, we will cover setting up an Elastic Load Balancer (ELB), migrating the WordPress database to Amazon RDS, and configuring backups with Amazon S3 bucket. We will also explore auto-scaling with an Auto Scaling Group (ASG) and SSH access from both Windows and Mac.
By the end, we will have deployed our WordPress site with auto-scaling features and a load balancer to manage traffic.
#Creating a SSH Keypair
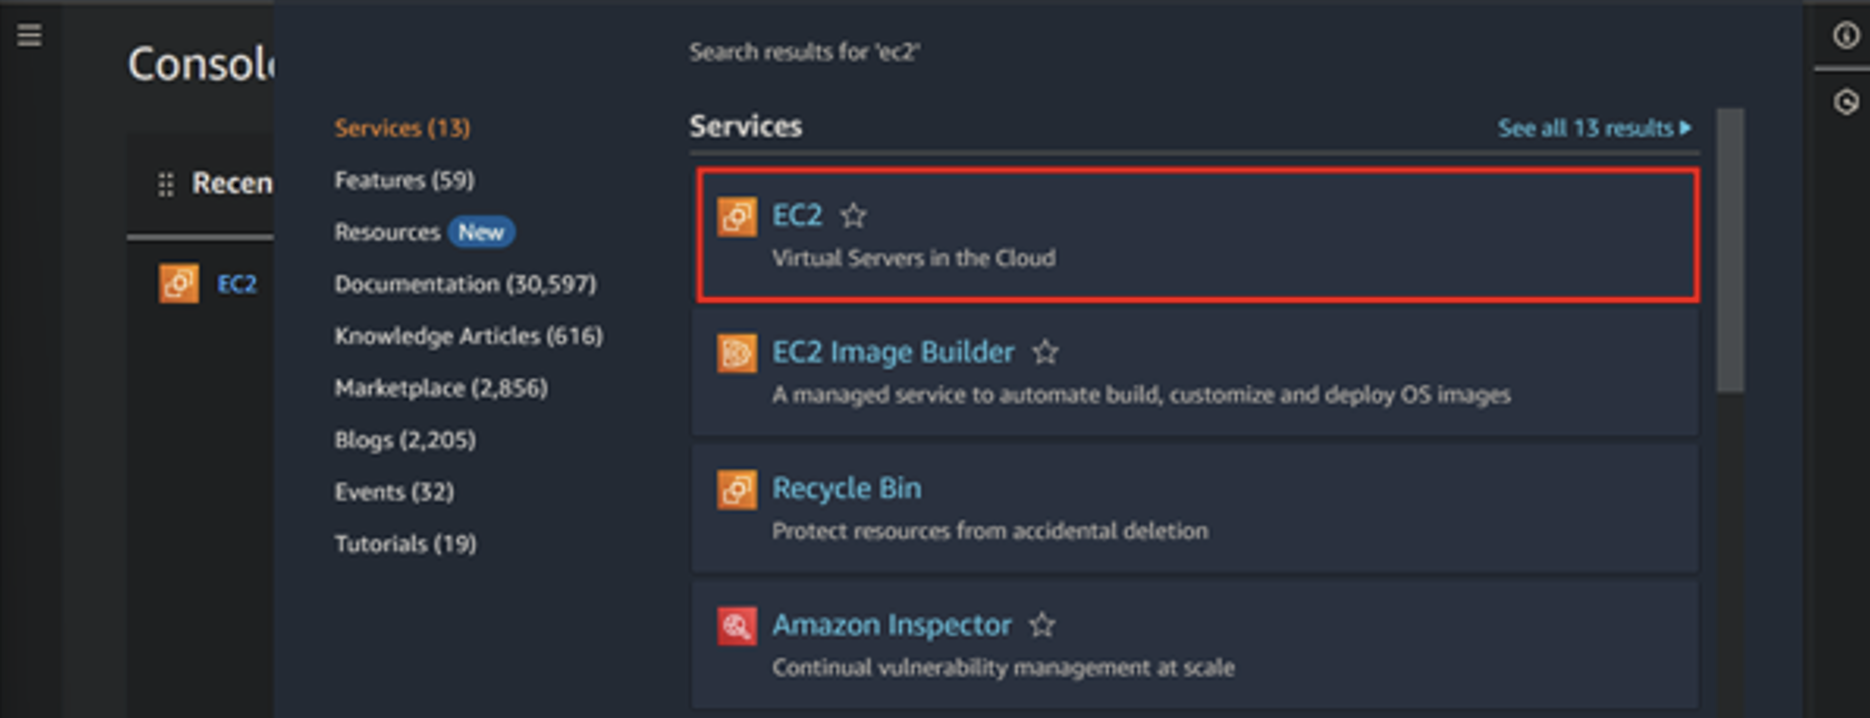
- In your AWS dashboard, search for the EC2 service and click on it.
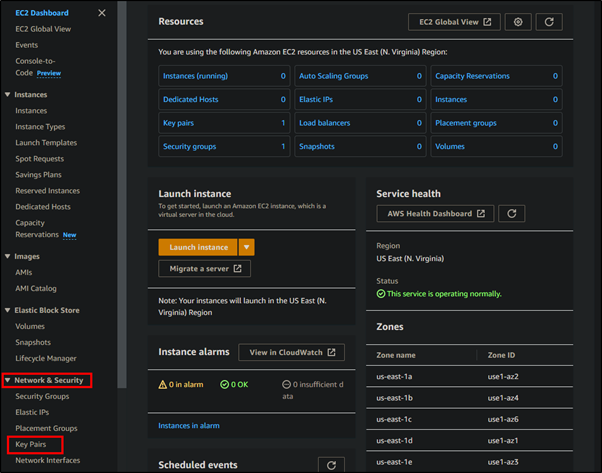
- After clicking on it, go to Network & Security > Key Pairs.
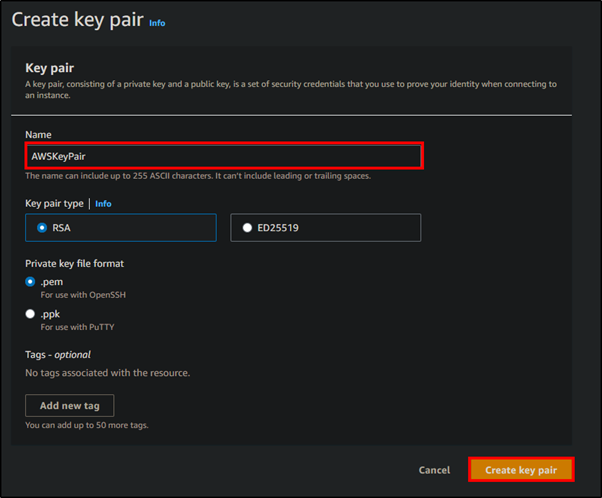
- Click Create key pair.
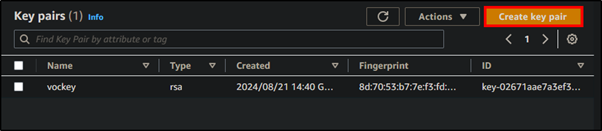
- Name your key pair, select the key type, and choose to generate a
.pemfile for connecting with OpenSSH.
#Creating an EC2 Instance
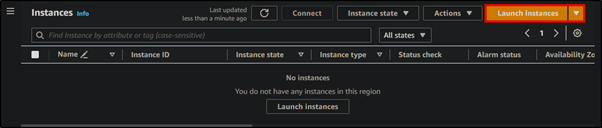
- Navigate to the EC2 service and, on the right, click on Instances > Launch instances.
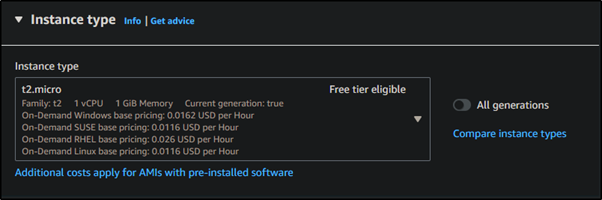
- Next, select your instance type. I have kept the default t2.micro (free tier).
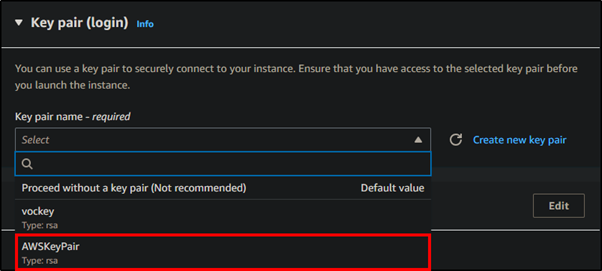
- Then, select the key pair we just created.
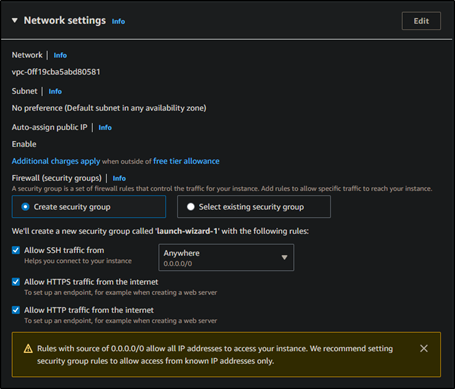
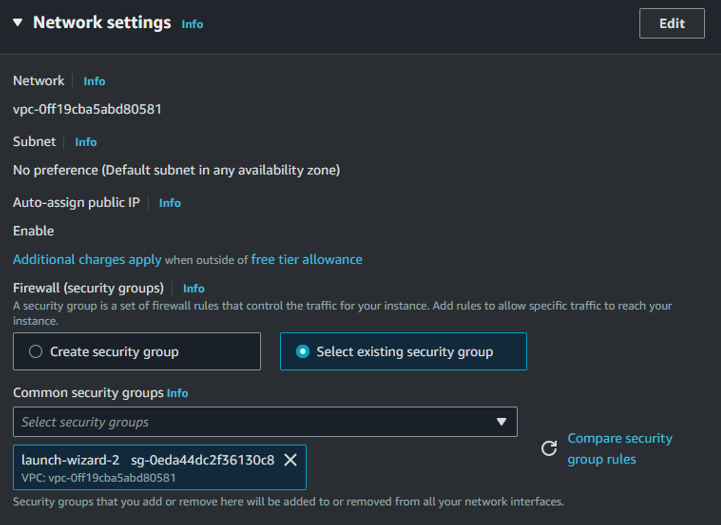
- Next, configure your network settings and allow traffic from anywhere for easy access to the environment. In a real scenario, you would restrict access by creating appropriate security group rules. However, since this is a demonstration, we will allow access from anywhere.
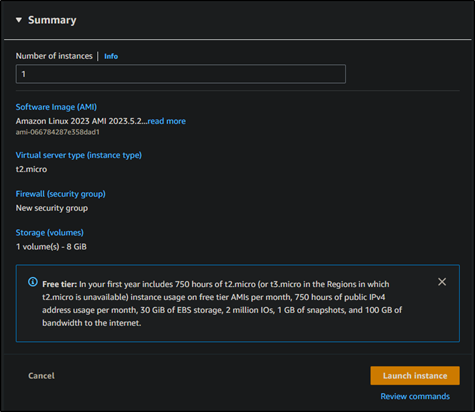
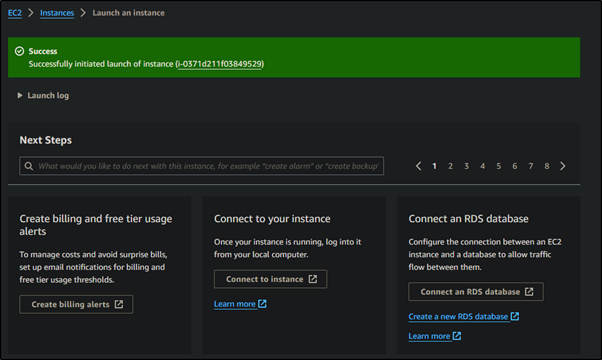
- This will create your instance(s). You will know it was successful when you see a green banner after the instance creation.
#Configuring EC2 Instance
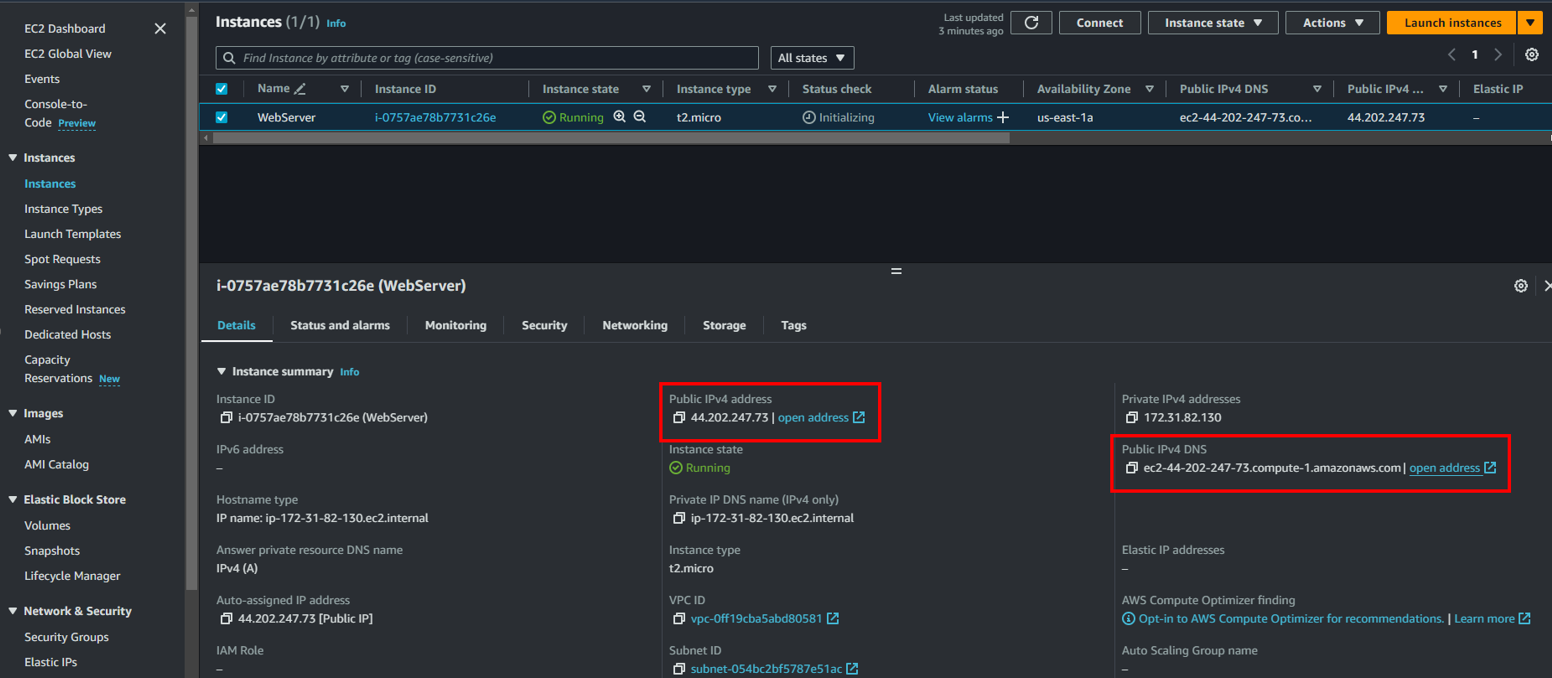
- To SSH and start configuring the EC2 instance, you will need the instance's IP or DNS. You can find this information on the EC2 panel.
- Connect to the server using SSH. On Windows PowerShell, type the following command to connect:
ssh -i "AWSKeyPair.pem" ec2-user@ec2-44-212-20-169.compute-1.amazonaws.com
We supply our private key using the -i command.
The user is ec2-user.
The address is ec2-44-212-20-169.compute-1.amazonaws.com.
- After successfully authenticating, you will see the following banner. Then, update your system using
sudo yum update -yand install the dependencies withsudo amazon-linux-extras install -y lamp-mariadb10.2-php7.2 php7.2.

- To run WordPress, we need to install and start the Apache web server on our EC2 instance. Use the following command to install Apache:
sudo yum install -y httpd
- After Apache is successfully installed, use the following command to start the web server:
sudo service httpd start
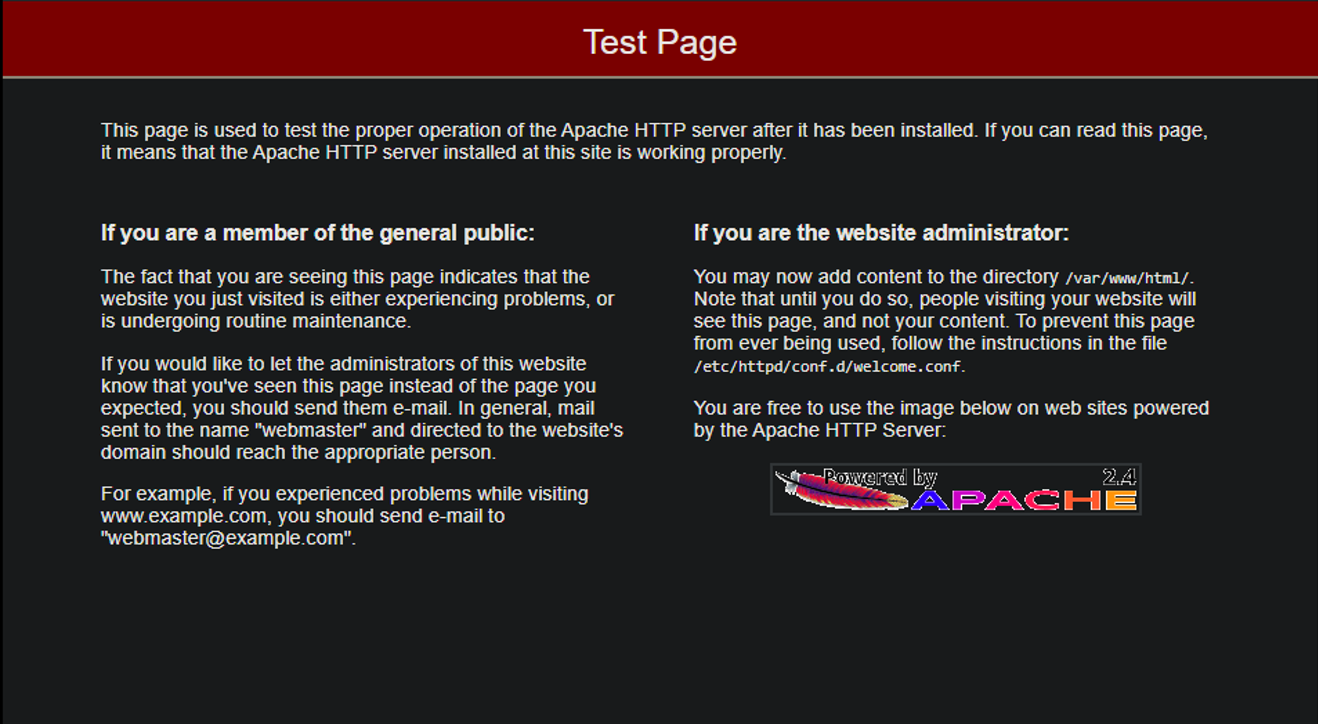
- To verify that your web server is running, visit the Public IPv4 DNS:
ec2-44-212-20-169.compute-1.amazonaws.com. You should see the default Apache page.
- Next, install PHP on the server using the following command:
sudo yum install php php-{pear,cgi,common,curl,mbstring,gd,mysqlnd,gettext,bcmath,json,xml,fpm,intl,zip,imap} -y
- Installing MariaDB:
sudo yum install mariadb-server -y
- Next, start MariaDB using the following command:
sudo systemctl start mariadb
- Then, enable MariaDB to start automatically after the system boots up using the following command:
sudo systemctl enable mariadb
#Configuring MySQL Installation
Now, run the
sudo mysql_secure_installationscript to set up a password for the root user and configure other security settings. If you encounter issues connecting to the MySQL database, the error message will provide details about the problem.The error above indicates that the MySQL server may not be running. To check, run:
ps -aux | grep sql
- The
-auxflags show additional details about processes, which can aid in troubleshooting. - The
grepcommand will return the MySQL process if it is running. If no output is returned, it means MySQL is not running. In this case, we may have not started the SQL server, and we will need to start MySQL again.

- Additionally, we might want to create a new user to manage our WordPress database. To do this, we can connect to the MySQL server with the following command and enter the password when prompted:
sudo mysql -u root -p
- Next, to create the user, we can execute the following query:
MariaDB [(none)]> CREATE USER 'wp_user'@localhost IDENTIFIED BY 'password123';
Query OK, 0 rows affected (0.00 sec)
- Now, we should have a separate user. We can create a database for WordPress with the following command:
MariaDB [(none)]> CREATE DATABASE wp;
Query OK, 1 row affected (0.00 sec)
- For the final step, we can grant all privileges on the database wp to our user wp_user with the following command:
MariaDB [(none)]> GRANT ALL PRIVILEGES ON wp.* TO 'wp_user'@localhost;
Query OK, 0 rows affected (0.00 sec)
- Voila, we are done configuring our MySQL server for the WordPress database!
- Now, restart the Apache server with:
sudo systemctl restart httpd
#Installing WordPress on EC2
- Now we can start installing WordPress on EC2. To do this, download WordPress using the following command:
wget https://wordpress.org/latest.tar.gz
- Now, we can extract WordPress from the tar.gz file using:
sudo tar -xvzf latest.tar.gz
- Now, we can move the WordPress directory to
/var/www/htmlusingsudo mv wordpress /var/www/html/and then navigate tourl/wordpressto access the WordPress installation page.
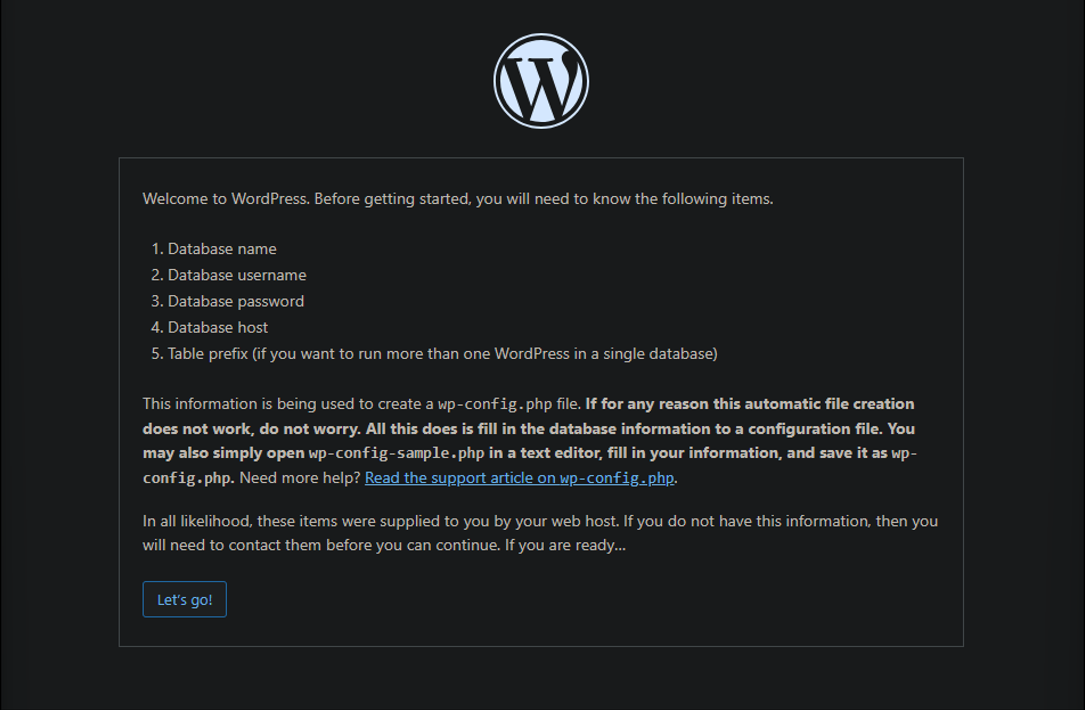
- Click on Let's go and then configure the database on the next screen by filling in all the details.

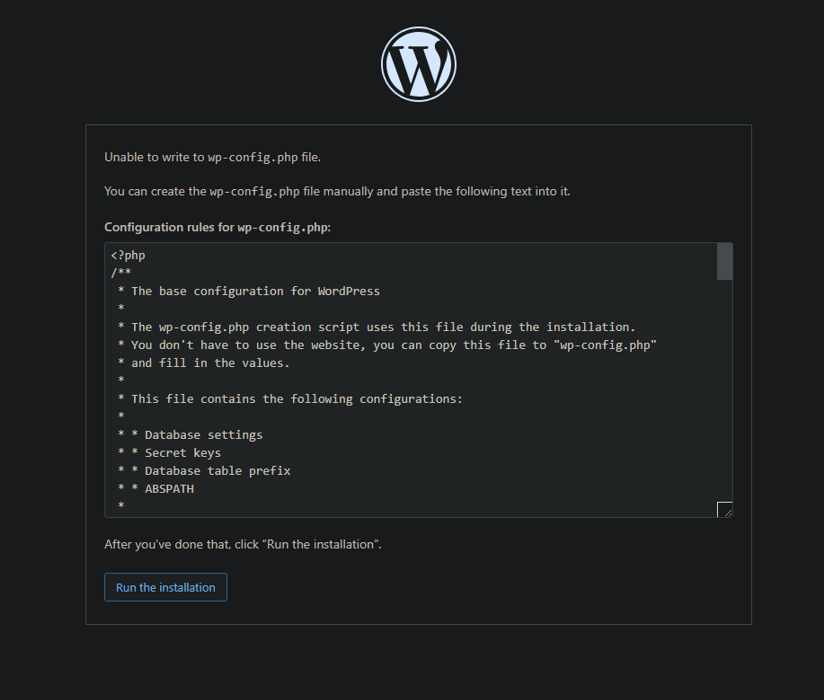
- However, if an error saying unable to write to wp-config.php occurs, we can resolve it by creating a file named wp-config.php and pasting the given script into it.
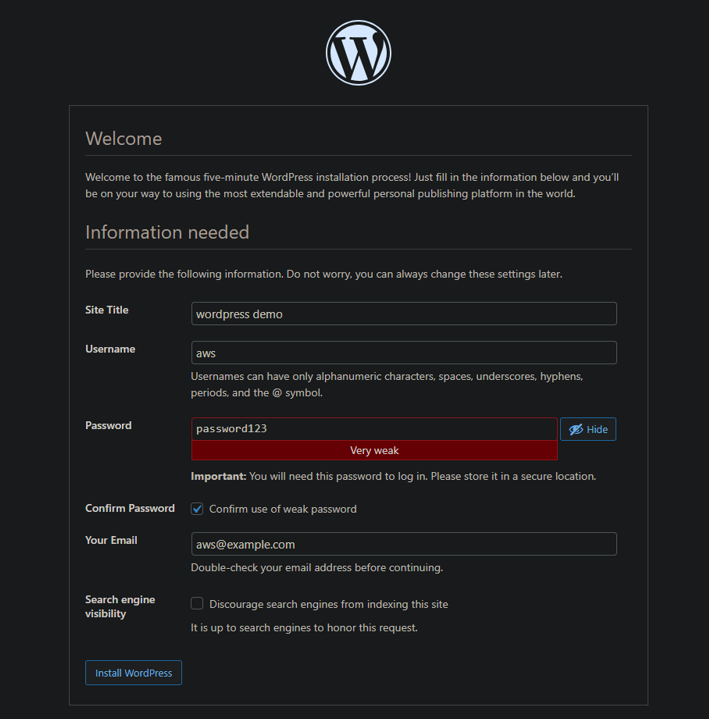
- After that, we can enter additional information, and it will install WordPress.
- Finally, the WordPress website has been deployed. We can see it by going to
url/wordpress.

#Creating a Relational Database Server
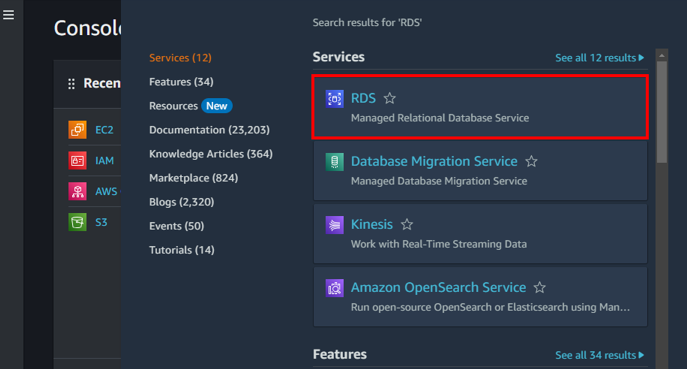
Go to the AWS Console panel, search for RDS in the search bar, and click on it.
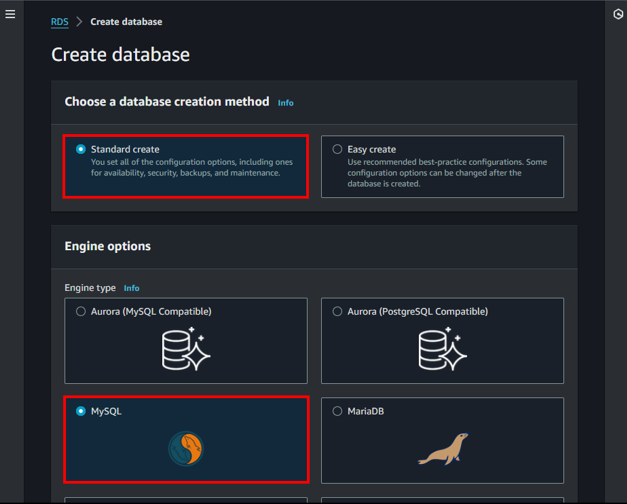
Scroll down and hit Create Database.

Select Standard Create and choose MySQL.
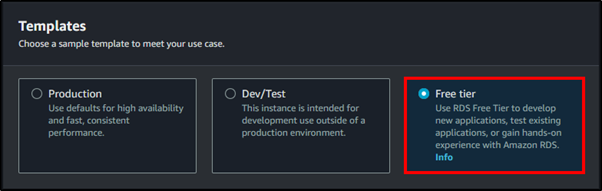
Next, we will stick with the default and select the Free Tier.
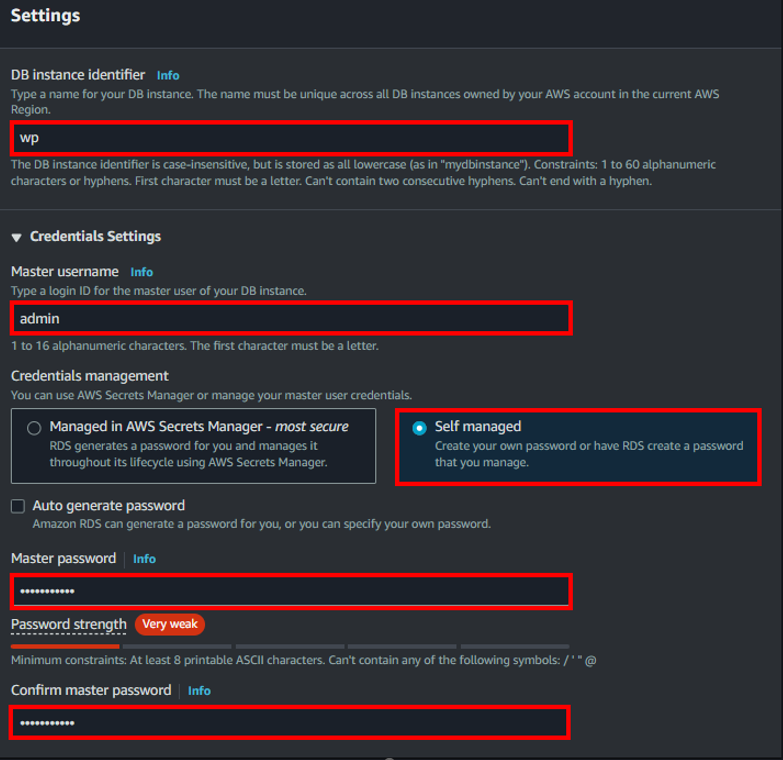
Next, we will configure the authentication settings for our MySQL deployment as shown below. Here, I'm using a weak password only for demonstration purposes; however, you should use a strong password.
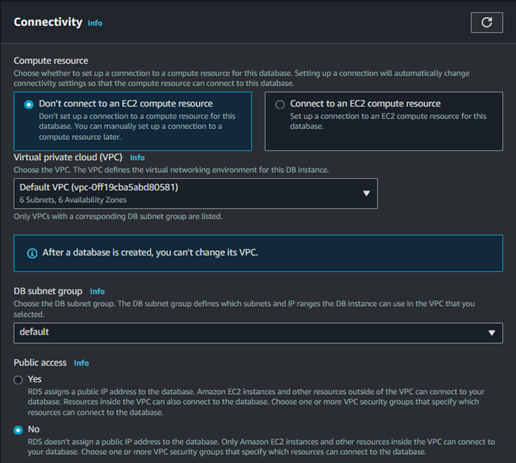
We can leave everything else as default for our purposes. However, if desired, we can change storage size and connectivity settings, including assigning your VPC (Virtual Private Cloud), which is outside the scope of this guide.
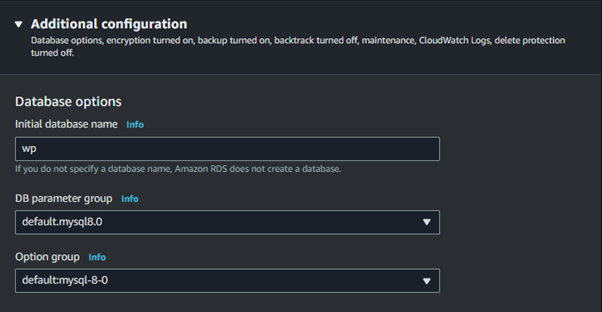
Next, under Additional Configuration, we can set our desired database name and hit Create Database.
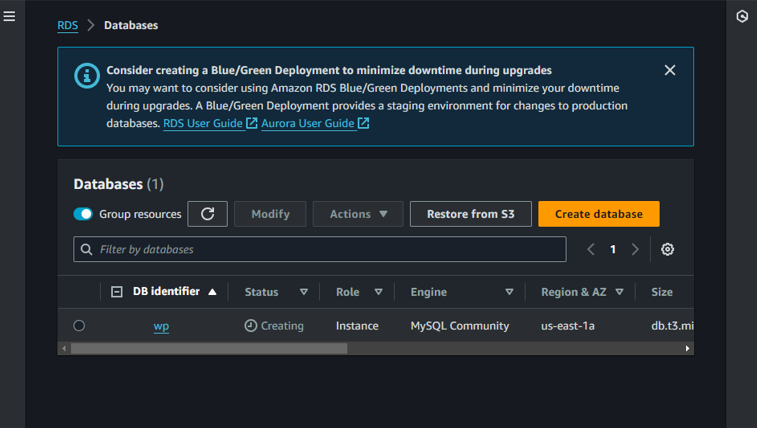
And our database has been successfully created. It will take some time to complete the creation process.
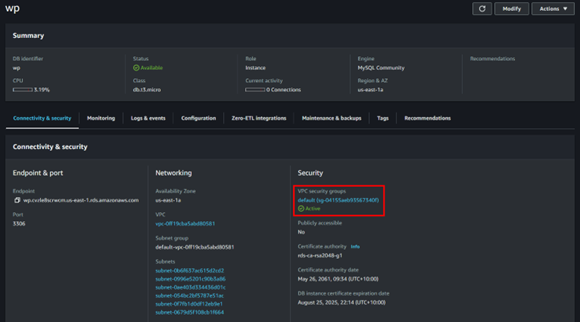
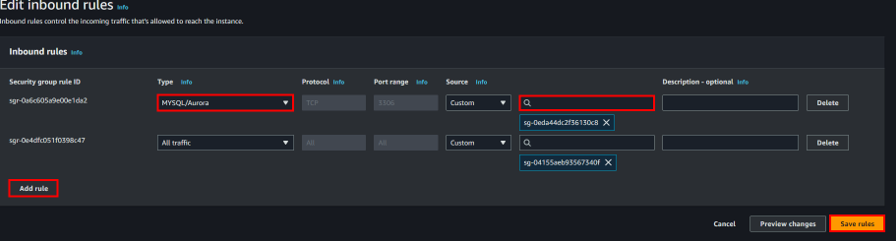
Next, we need to edit the security group for the RDS instance to allow MySQL connections. Click on the database wp, then click on the security group link twice to reach the security groups page.
Here, under Inbound rules, we need to add a rule to allow MySQL connections. Set the source to Custom, use the search box to select the security group of our EC2 instance, and click Save rules. If we don’t do this, we won’t be able to access our database from the EC2 instance.
Now that our database is configured, we can copy the existing database from the EC2 instance to RDS and use it instead of the database on the EC2 instance. We can do this using a command-line tool called mysqldump.
Before we dump our database, we can check if we can connect to our RDS database using the following command:
mysql -u admin -p -h host.rds.amazonaws.com
- Once we successfully connect to our database, we can copy the existing database to RDS using:
mysqldump -u root -p wp > wp.sql
- Then, import this into our RDS database using:
mysql -u admin -p -h host.rds.amazonaws.com -D wp < wp.sql
If we get an error saying
ERROR 1049 (42000): Unknown database 'wp', it means the database hasn't been created yet. Create the database and then repeat the import step.All of our databases have been successfully imported to the RDS database. To reinstall WordPress, simply remove the WordPress folder from the
/var/www/htmldirectory, move it back from the home folder to this directory, and repeat the installation steps.Alternatively, we can change the database WordPress is using by directly editing the values in the
wp-config.phpfile. However, using the WordPress installation page provides a graphical interface for this process.
...snip...
/ ** Database settings - You can get this info from your web host ** /
/** The name of the database for WordPress */
define( 'DB_NAME', 'wp' );

/** Database username */
define( 'DB_USER', 'admin' );

/** Database password */
define( 'DB_PASSWORD', 'password123' );

/** Database hostname */
define( 'DB_HOST', 'wp.cvzle8scrwcm.us-east-1.rds.amazonaws.com' );
...snip...
- If, after changing the values in the wp-config.php file, you see a page saying Error establishing a database connection, ensure that you have typed the correct database credentials. Correcting these details should resolve the issue.
#Creating more EC2 Instances
Before creating a load balancer for our WordPress website, we need to create additional EC2 instances for the load balancer to direct traffic if one instance fails. We will follow the same steps outlined in the task about creating an EC2 instance and create one more, so we have a total of two instances.
To simplify configuration, I have created a custom script to install the necessary dependencies and WordPress on each instance. All that remains is to complete the WordPress installation setup by visiting
url/wordpress.
#!/bin/bash
yum update -y
amazon-linux-extras install -y lamp-mariadb10.2-php7.2 php7.2
yum install -y httpd
service httpd start
systemctl enable httpd
yum install php php-{pear,cgi,common,curl,mbstring,gd,mysqlnd,gettext,bcmath,json,xml,fpm,intl,zip,imap} -y
yum install mariadb-server -y
systemctl start mariadb
systemctl enable mariadb
systemctl restart httpd

usermod -a -G apache ec2-user
chown -R ec2-user:apache /var/www
chmod 2775 /var/www
find /var/www -type d -exec sudo chmod 2775 {} \;
find /var/www -type f -exec sudo chmod 0664 {} \;

wget https://wordpress.org/latest.tar.gz
tar -xvzf latest.tar.gz
mv wordpress/ /var/www/html
- Make sure to select the same security group as the first EC2 instance in the Network Settings tab. In our case, it was Launch Wizard 2, so the new instances can access the RDS instance database, as we have only allowed SQL connections from EC2 instances within that security group.
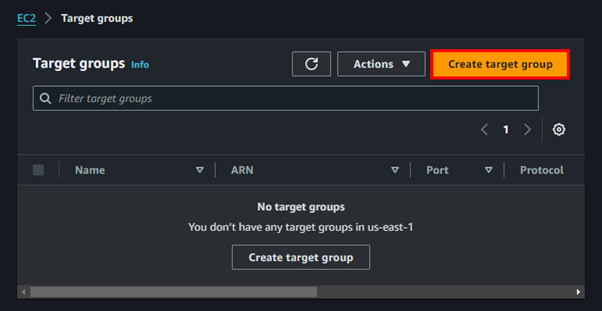
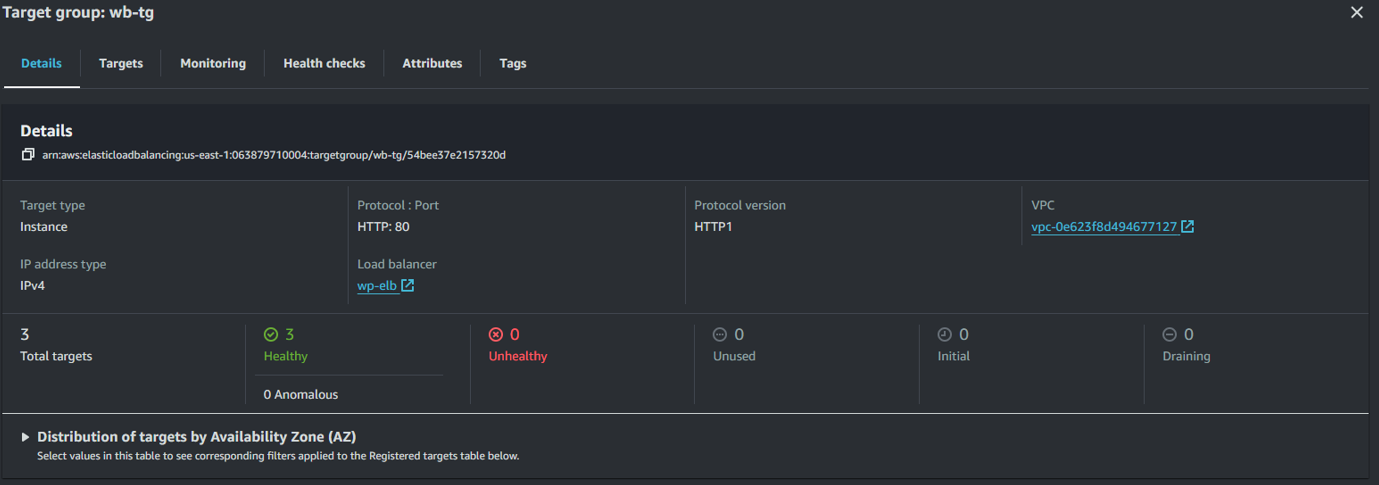
#Creating Target Groups
Next, we need to create Target Groups, which specify the EC2 instances we want to associate with our Load Balancer. We can search for Target Groups or find them under Network & Security on the EC2 panel.
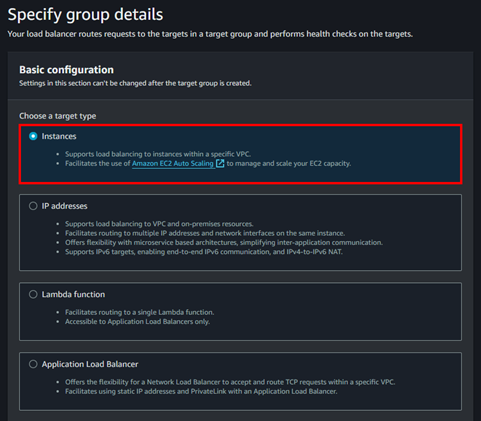
We will choose Instances and name our target group.
Next, we will leave the defaults and change the Health Check Path under Health Checks to
/wordpress. This ensures that if the server is down or cannot reach our WordPress site, it will not send traffic to that server. Click Next.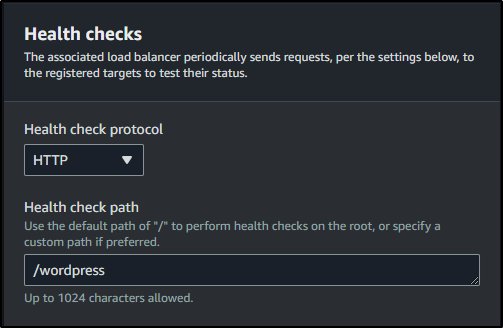
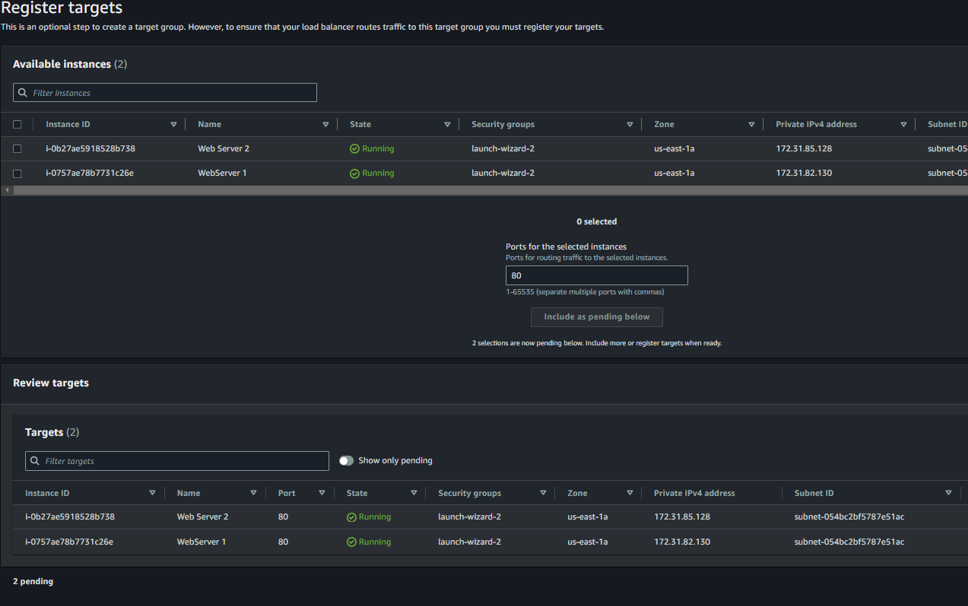
Next, include the EC2 instances we want to add, then hit Include as pending below and Create Target Group.
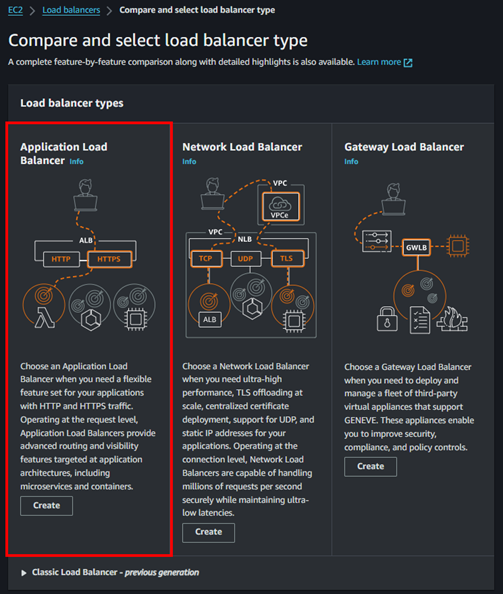
#Creating Load Balancer
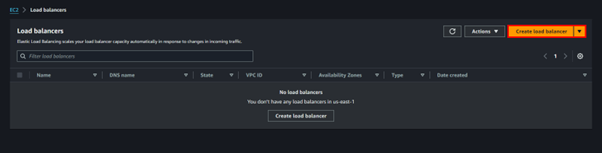
Now we can search for Load Balancers in the search bar or find them under the Network & Security section of the EC2 panel.
Here, click on Create Load Balancer.
Click on Application Load Balancer.
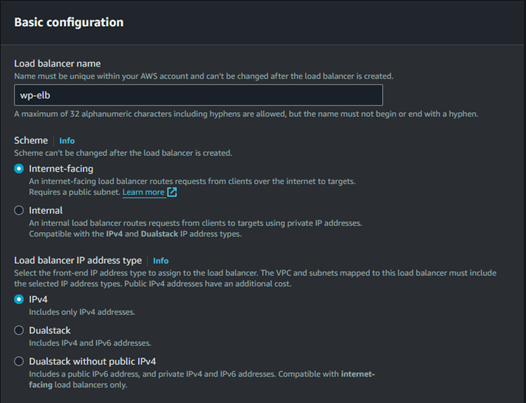
Next, name your load balancer and select Internet-facing to make it accessible to the public.
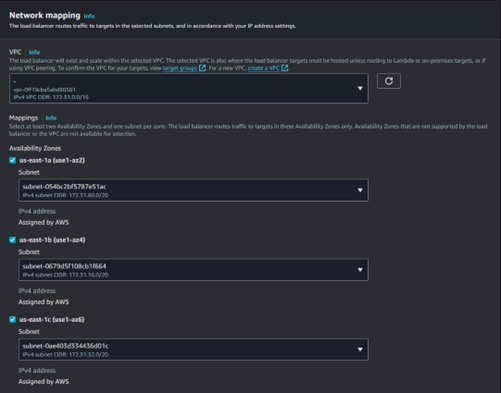
We can select all the availability zones to which the load balancer will route traffic.
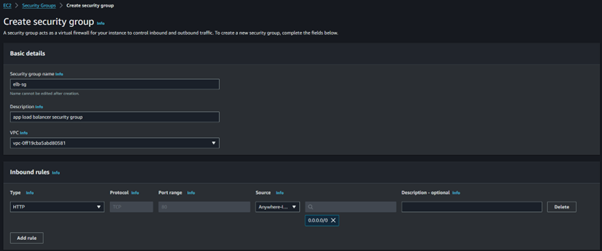
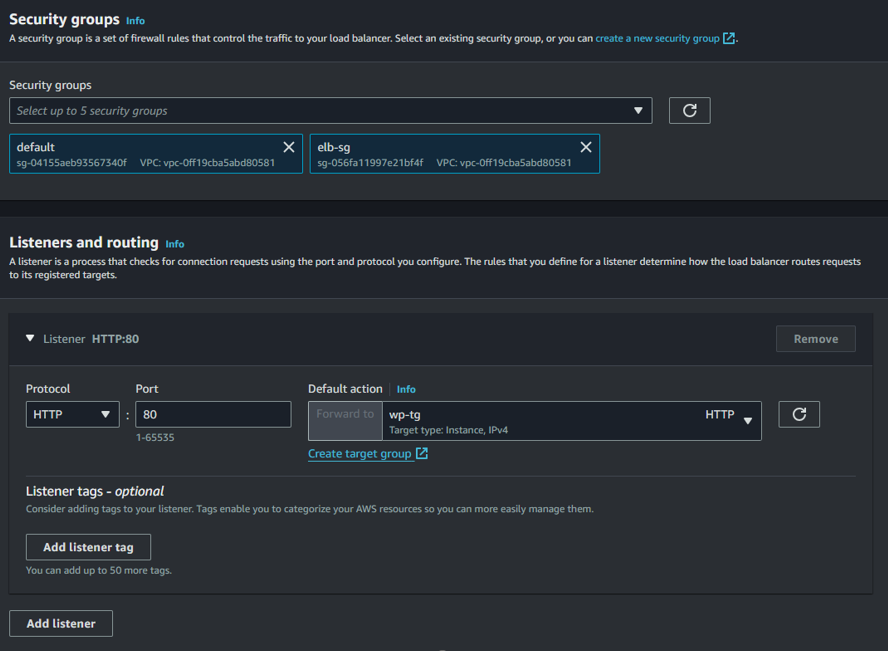
Next, create a security group for the load balancer and add an inbound rule allowing HTTP access from anyone.
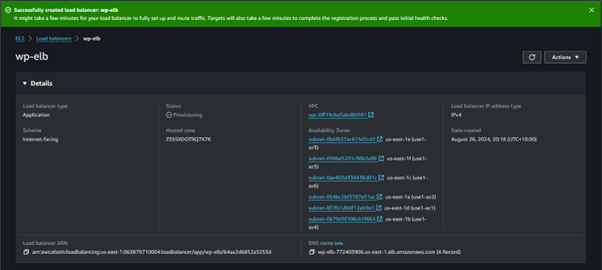
Now, go back to the Load Balancers tab, select our load balancer, choose the security group, select the target group we created earlier, and hit Create.
Now, when we visit the Load Balancer DNS name, we will be directed to one of our EC2 instances running WordPress.]
#Creating an AMI for Backing up an Instance to S3
For this, we can either launch a new EC2 instance with the provided script or back up our existing instance. Since both EC2 instances are already configured with the Target Groups and Load Balancer, I have created a new EC2 image with the startup script. This image can be backed up to S3, deleted, and then restored as needed.
Once you have created the instance, ssh into your instance.
ssh -i "AWSKeyPair.pem" ec2-user@ec2-3-94-203-127.compute-1.amazonaws.com
When we go to the
/var/www/htmldirectory, we can see that the WordPress folder is present.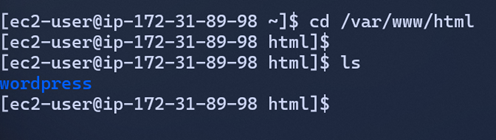
Now, we will take an AMI backup of the EC2 instance and store it in the S3 bucket. After that, we will delete the existing AMI and instance and then restore it again from the S3 bucket.
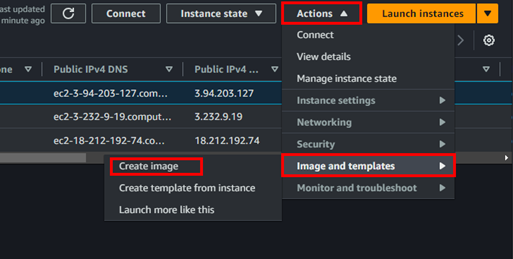
Name your AMI backup and hit Create Image.
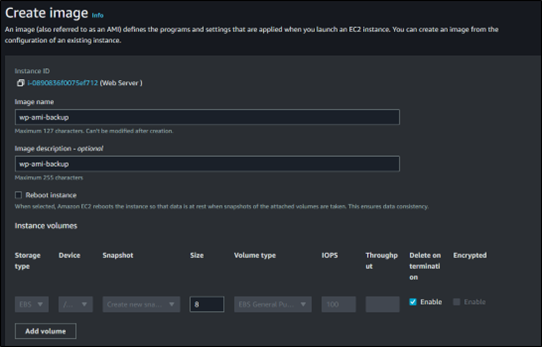
We can see the image has been created by clicking the link on the banner or going to the AMIs under Images.

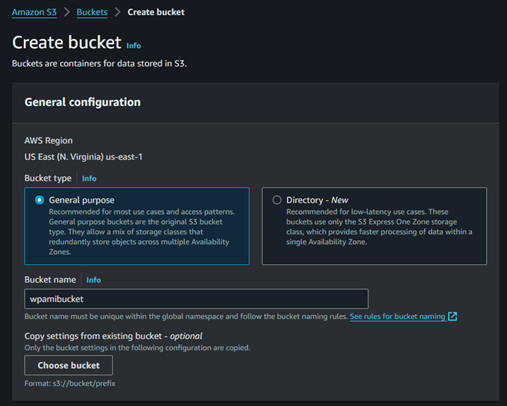
#Creating a S3 Bucket
Now, we will create an S3 bucket to store our AMI image. Search for S3 and hit Create bucket on the S3 page.
Name your bucket, keep the default settings, and hit Create bucket.
Now we can use CloudShell to transfer our AMI image to the S3 bucket. Click on the shell icon at the top of the AWS banner to access CloudShell. We will need to have our
aws-access-key-idandaws-secret-access-key.Once we have our keys, we can type
aws configurein the terminal to configure them and answer the prompts.Next, we will use the following commands to create a task to store the AMI from EC2 to the S3 bucket:
aws ec2 create-store-image-task \
--image-id ami-id \
--bucket wpamibucket
Here you need to change the image id with your AMI ID you can find in the AMI page and bucket with your S3 bucket.
Next, to check the progress of our task, we can use the following command
aws ec2 describe-store-image-tasks
- We can also verify this by going to the S3 bucket, where we will find a new
object.binfile created.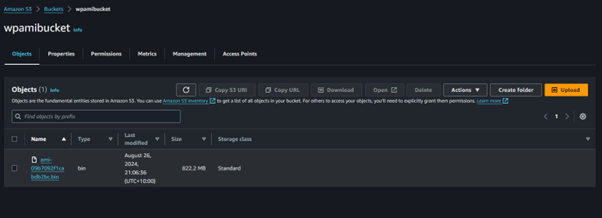
#Restoring Instance From S3 Backup
Now, we can restore the instance from the S3 backup. First, we need to delete the associated EC2 instance, AMI image, and EC2 snapshot.
For terminating an instance, select the instance, choose Instance State, and click Terminate Instance.


Now, to restore the image, we can use the following command:
aws ec2 create-restore-image-task \
--object-key ami-09b7092f1cabdb2bc.bin \
--bucket wpamibucket \
--name "restored-ami-backup"
- Here, object key is the name of the
.binfile in your S3 bucket. Make sure to use a different name than the original to avoid errors. You will receive an image ID back upon successful execution.
[cloudshell-user@ip-10-138-166-61 .aws]$ aws ec2 create-restore-image-task \
> --object-key ami-09b7092f1cabdb2bc.bin \
> --bucket wpamibucket \
> --name "restored-ami-backup"
{
    "ImageId": "ami-id"
}
Now, if we go back to the AMI page, we can see that our AMI has been restored, and we can launch an EC2 instance using this AMI.

We can go through the EC2 setup process again and launch our instance. Once launched, we can SSH into the instance, navigate to the
/var/www/htmldirectory, and find our WordPress folder.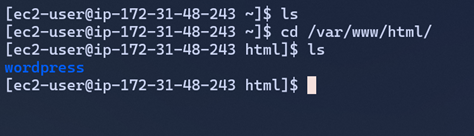
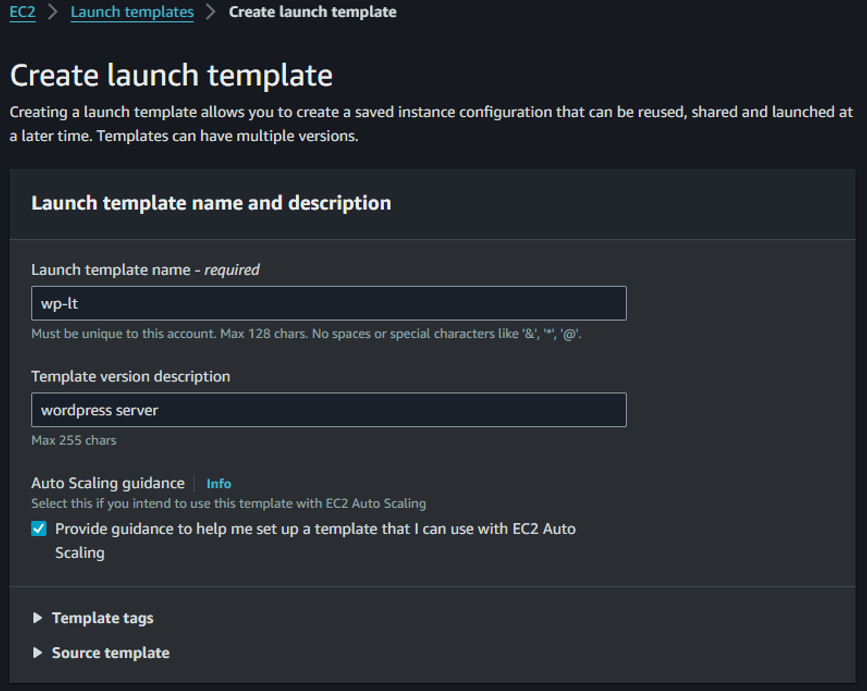
#Creating a Launch Template
Before creating our Auto Scaling Groups (ASG), we need to create launch templates for the ASG to use when creating EC2 instances. To do this, search for Launch Templates in the search bar or find them in the EC2 panel under Instances > Launch Templates.
Name your launch template, and we can tick the Provide Guidance box, which will help us set up the Launch Template for the Auto Scaling Group (ASG).
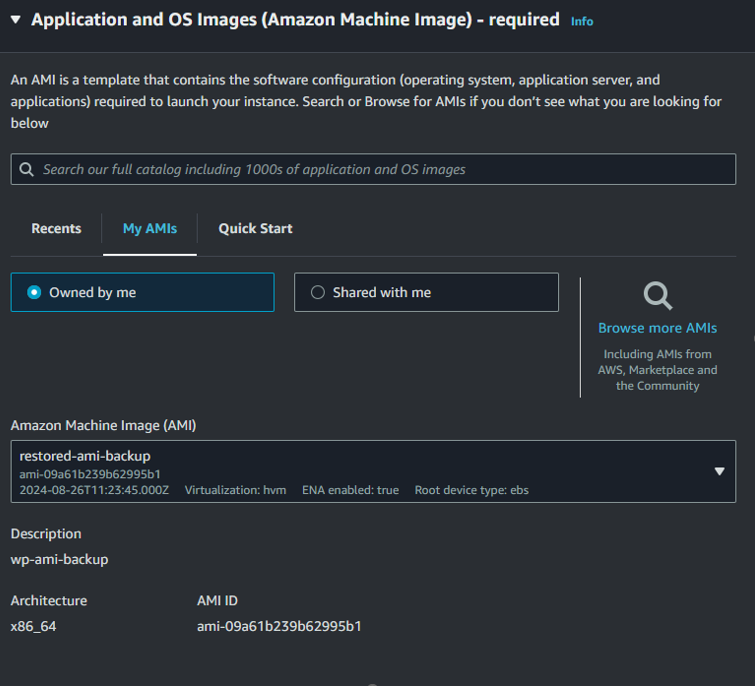
Next, select an AMI, and we can choose the AMI backup we took from the last section.
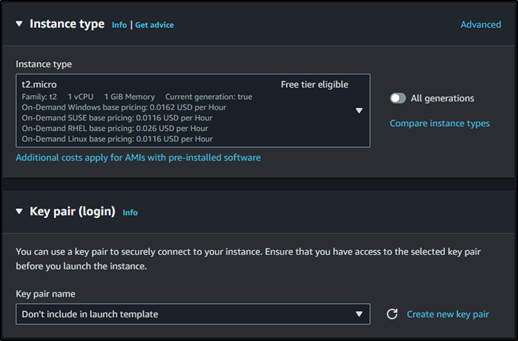
Select the instance type and include a key pair if you wish to SSH into the instance.
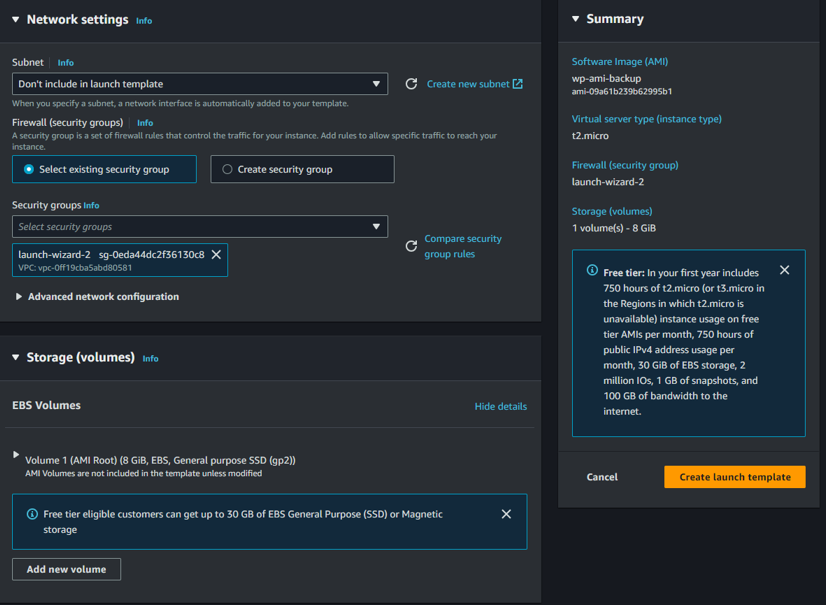
Going further, select the subnet and security groups, keep the rest as defaults, and hit Create Launch Template.
#Creating Auto scalling groups
Before creating our Auto Scaling Groups (ASG), we need to create launch templates for the ASG to use when creating EC2 instances. To do this, search for Launch Templates in the search bar or find them in the EC2 panel under Instances > Launch Templates.
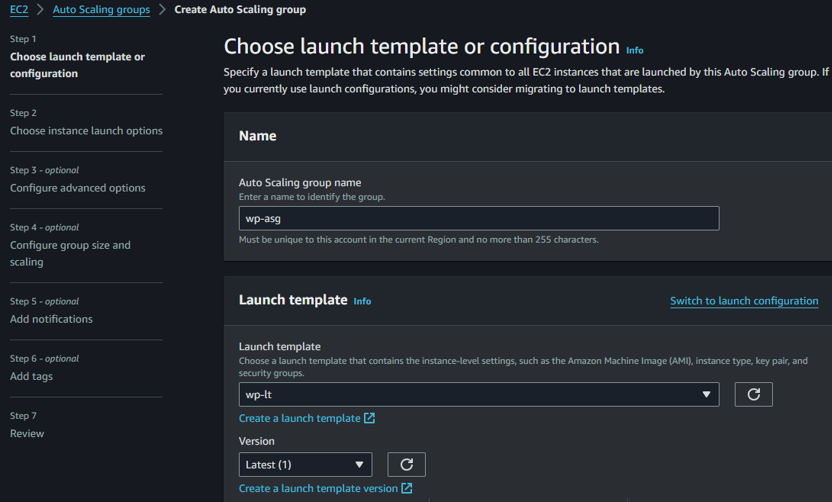
Name your Auto Scaling group and select the launch template you created earlier.
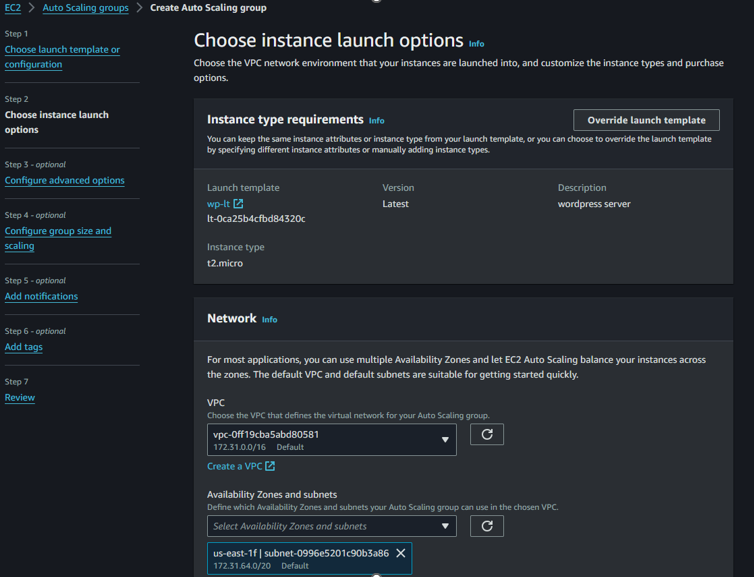
Next, under Network, keep the default VPC and select all the subnets for Availability Zones and Subnets, then hit Next.
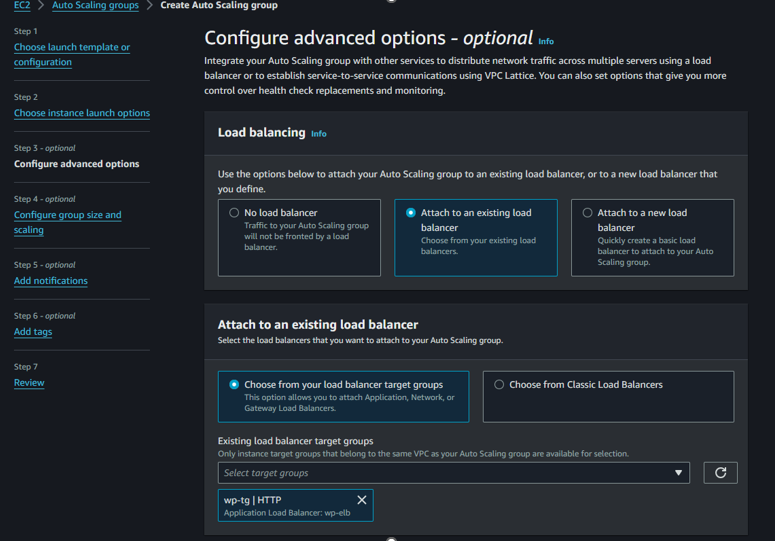
We can also attach our previously configured load balancer to the Auto Scaling group if desired.
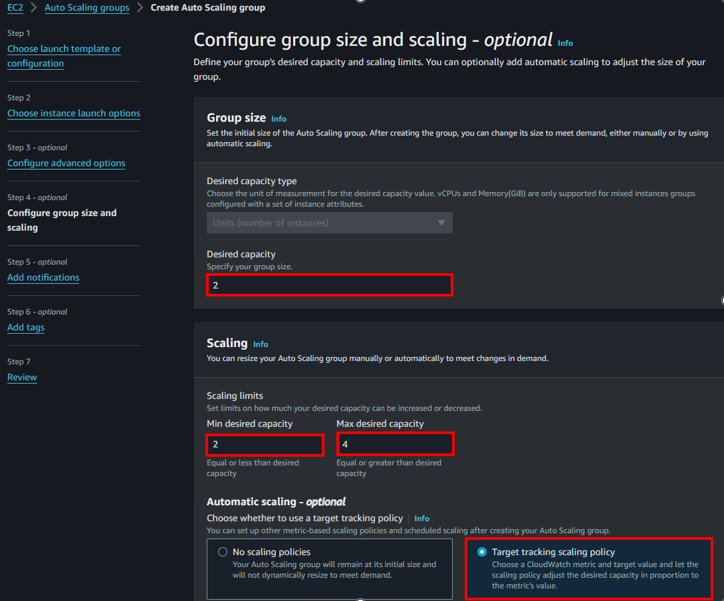
We can also set the minimum, maximum, and desired number of instances we would like to run at a given time. Select the Target Tracking Scaling Policy and keep the default metrics for scaling.
We keep everything else as default for this demonstration, can skip the next steps such as notifications, etc., and hit Create Auto Scaling Group. We can see that our Auto Scaling Groups have been created. By clicking on the wp-asg and going to Instances, we can view the instances spawned by the Auto Scaling Group.
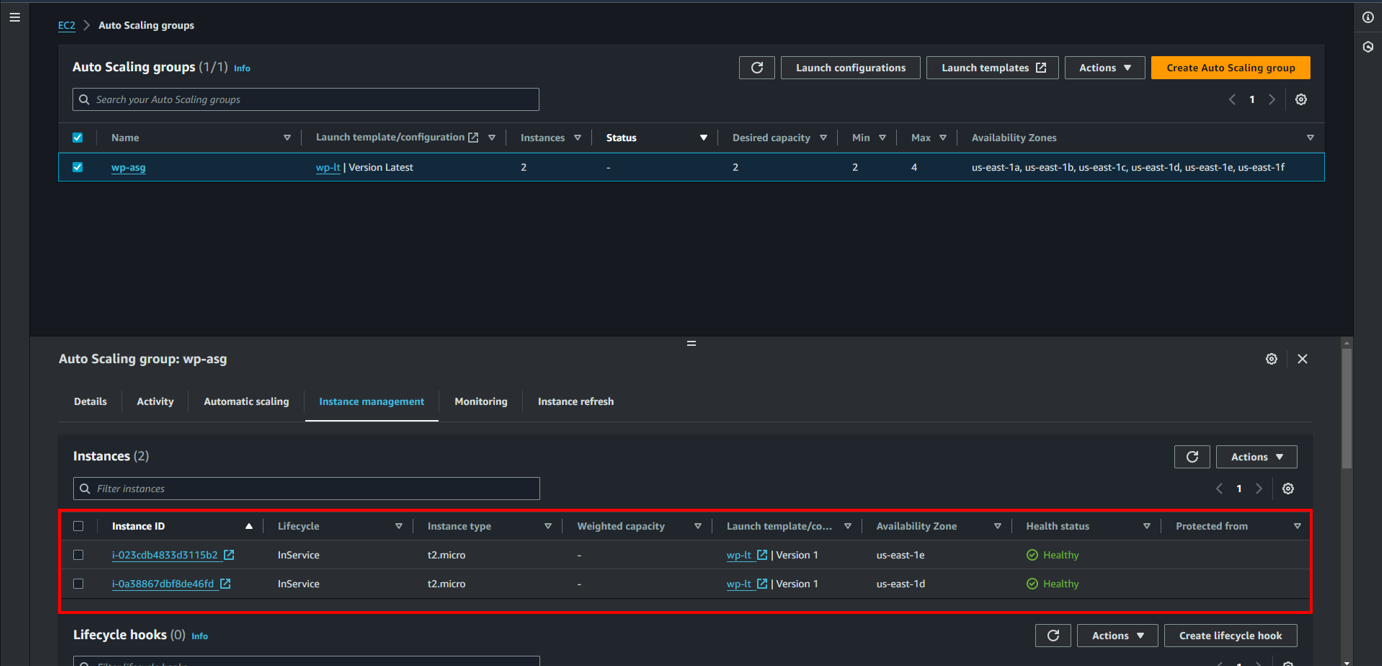
- If we go back to our Instances page, we can see that there are two new EC2 instances without names. These are the instances created by our Auto Scaling Group.

#Testing the scaling of ASG
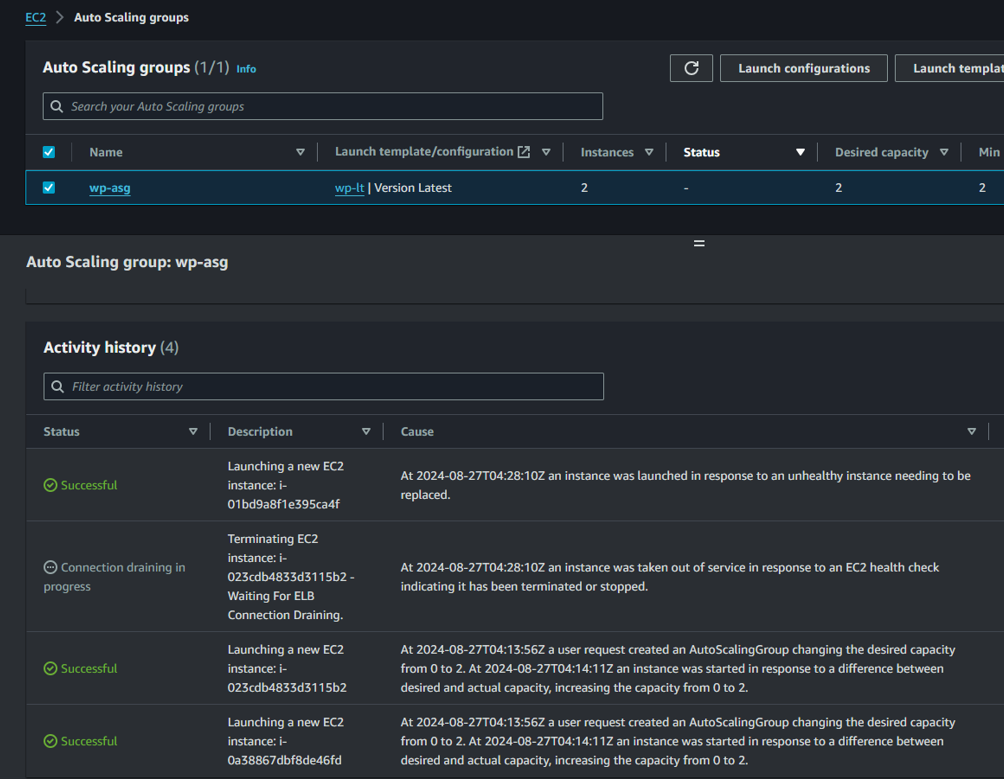
- Now we can test the scaling of the Auto Scaling Group by manually simulating a failure, such as stopping or terminating one of the instances. We will observe that the Auto Scaling Group will create new instances to meet the minimum of 2 instances configured in its settings.
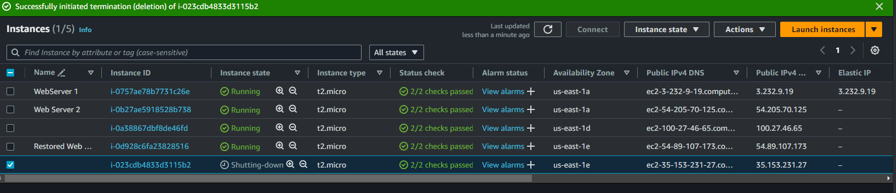
- You can see that I have terminated an instance. Now, when the Auto Scaling Group checks for the number of instances, it will notice that one instance is down and will create a new instance to meet the configured minimum demand. You should see that a new instance has been created.
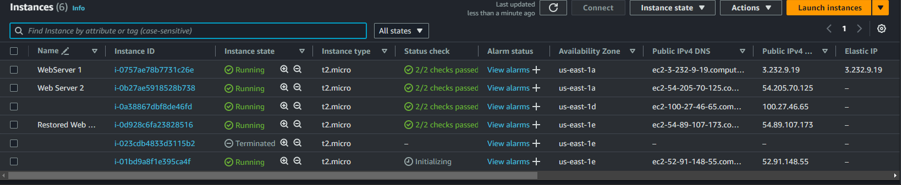
- We can also confirm that the Auto Scaling Group launched the instance by checking the Activity tab in the Auto Scaling Groups.